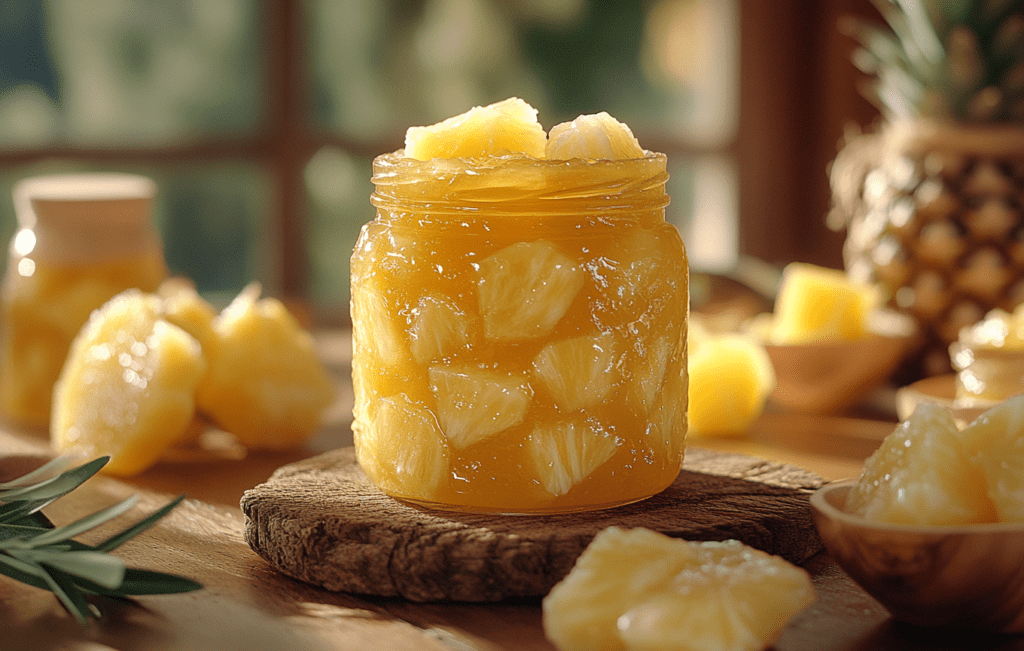
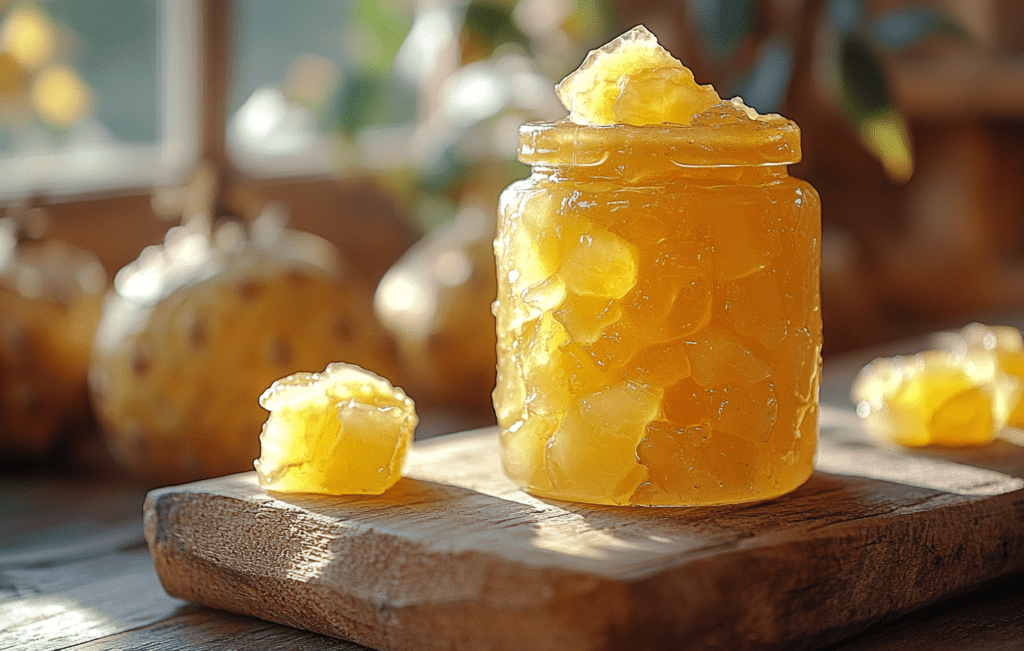
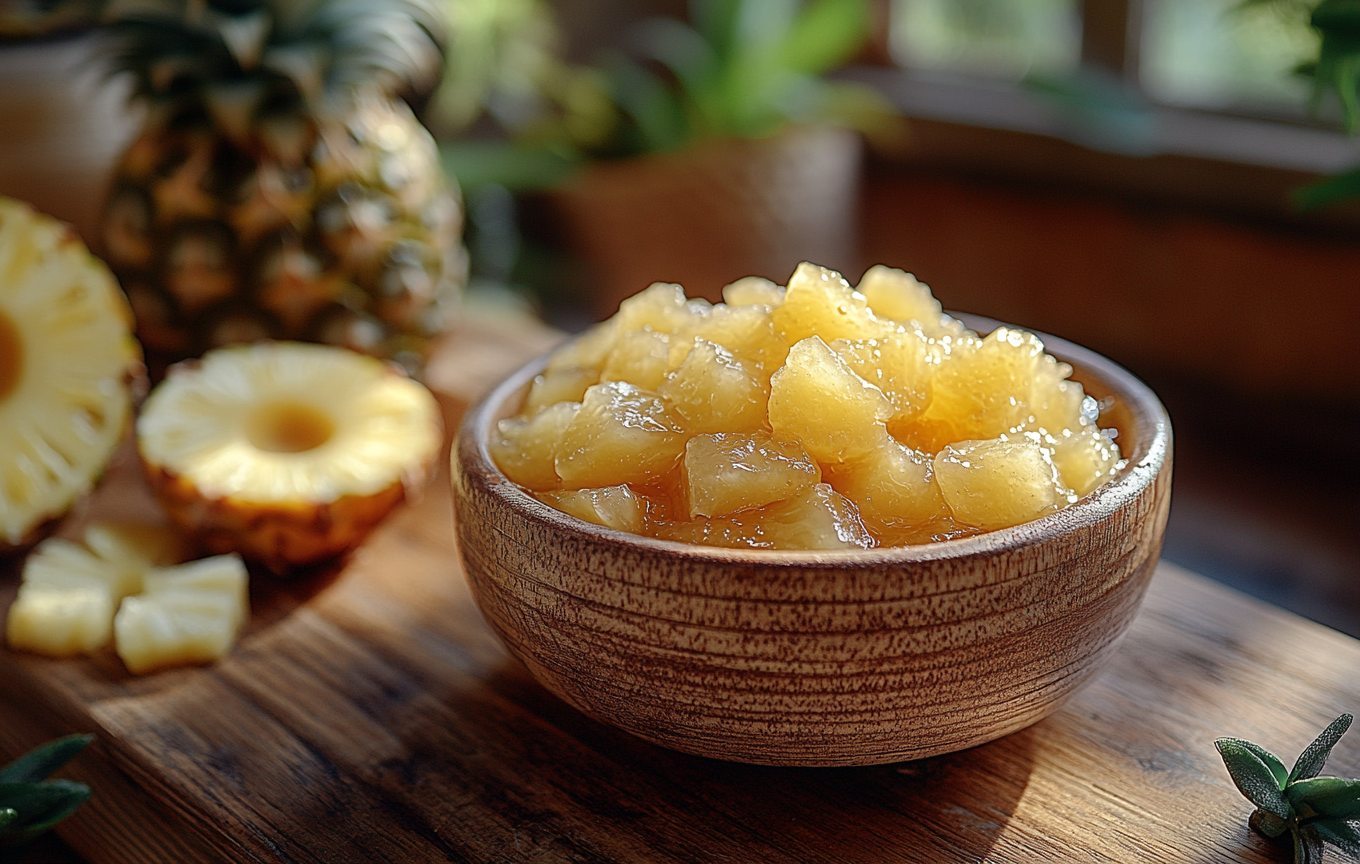
Pineapple Jam Recipe is a fun and rewarding kitchen project. I’ll show you how to create a sweet and tangy treat that can brighten up your breakfast or snacks. The process is simple and uses fresh ingredients that bring out the best flavors of pineapple.
I can’t wait to share my Pineapple Jam Recipe to ensure your jam comes out perfect every time. From selecting the right pineapples to storing your finished product, this guide will help you every step of the way. Let’s dive into the delicious world of pineapple jam!
Key Takeaways
- Pineapple jam is easy to make with fresh ingredients.
- Proper preparation and cooking make for the best flavor and texture.
- Storing your jam correctly ensures it stays fresh longer.
What Is Pineapple Jam?
Pineapple jam is a sweet spread made from ripe pineapples, sugar, and pectin. It has a bright, tropical flavor that many enjoy on toast, pancakes, or even as a filling in desserts. Making it is a fun way to preserve the delicious taste of pineapple.
Origin and Popularity
Pineapple jam has roots in tropical regions where pineapples grow abundantly. Countries like the Philippines and Hawaii have popularized this tasty treat.
Many people enjoy making jam at home. It’s popular for its vibrant flavor and ease of preparation. Pineapple jam can be found in stores, but home-cooked versions often taste fresher.
Health Benefits
Pineapple jam can offer some health benefits, especially when made with less sugar.
Pineapples are rich in vitamins and antioxidants. They help with digestion due to an enzyme called bromelain. Additionally, the fruit is low in calories, making it a healthier choice compared to other spreads.
When I make pineapple jam, I use fresh fruit to keep those nutrients intact. Enjoying it in moderation can be a tasty addition to my diet.
Essential Ingredients for the Pineapple Jam Recipe

Making pineapple jam is simple, but it requires a few key ingredients. Each one plays an important role in creating the right flavor and texture. Here’s what you need to know.
Fresh Pineapples
First, I use fresh pineapples because they give the best taste. Look for ripe fruit, which should be golden yellow and slightly soft to the touch. A good pineapple smells sweet at the base.
To prepare the pineapples, I peel, core, and chop them into small pieces. This helps them cook down nicely in the jam. I usually need about 4 cups of pineapple chunks for a batch. Using fresh fruit makes sure the jam tastes bright and fruity.
Sugar and Pectin
Sugar is necessary for sweetness and acts as a preservative. I usually add around 2 to 2.5 cups of granulated sugar. This amount balances with the tartness of the pineapple.
Pectin is crucial for thickening the jam. I like to use powdered pectin, which I can easily mix during cooking. The packaging will guide me on how much to use, but usually, 1 packet works well for this amount of fruit. Together, sugar and pectin help create that perfect jam texture.
Acidifiers
Acidifiers help balance the sweetness and enhance flavor. I typically add lemon juice, which also aids in the gelling process. About ¼ cup of fresh lemon juice works best for my batch.
If I want a different twist, I can also use lime juice. This can add a unique taste to the jam. Knowing the right acidifier is important for a balanced flavor in my pineapple jam.
Required Equipment for the Pineapple Jam Recipe
To make pineapple jam, I need specific tools. Having the right equipment makes the process smoother and ensures the best results.
Cookware
For cooking the jam, I use a large pot. It should have a heavy bottom to prevent the fruit from sticking and burning. A pot that holds at least 4 to 6 quarts is ideal for larger batches.
I also prefer a wooden spoon for stirring. It is gentle on the pot and helps me mix the fruit freely. A ladle is handy for pouring the jam into jars. A colander can help if I choose to drain any excess juice before cooking.
Finally, a candy thermometer is useful. It helps me check when the jam reaches the right temperature for canning.
Canning Tools
For canning the jam safely, I need specific tools. First, canning jars are essential. I like using pint-sized jars, as they are perfect for jam.
I also need jar lids and bands. These ensure the jars seal tightly. A good pair of canning tongs helps me handle the hot jars without burning myself.
A funnel makes filling the jars easy and mess-free. I also keep a magnetic lid lifter on hand. This handy tool helps me pick up lids without touching them.
With these tools, I can confidently make my pineapple jam.
Preparing the Fruit
I start the jam-making process by getting the pineapple ready. This involves cleaning, peeling, and cutting it into small pieces. Each step is important to ensure the best flavor and texture in the final product.
Cleaning and Peeling
First, I wash the pineapple under running water to remove dirt and any pesticides. It’s essential to clean the surface because I will be cutting into it. After rinsing, I dry it with a clean towel.
Next, I cut off the top and the bottom of the pineapple. This gives me a stable base to hold it while peeling. Using a sharp knife, I remove the tough outer skin, making sure to cut deep enough to get rid of the eyes, which are the brown spots.
Chopping and Crushing
Once the pineapple is peeled, I chop it into quarters. Each quarter gets sliced into smaller chunks. I aim for pieces about an inch in size. Smaller pieces break down easily during cooking, which helps the jam thicken.
After chopping, I crush the pineapple using a potato masher. I like to leave some small chunks for texture in the jam. This mixture of crushed and chopped pineapple gives a rich flavor when cooked down later.
For more Pineapple recipes click here.
Cooking Process of the Pineapple Jam Recipe

The cooking process for pineapple jam involves mixing the right ingredients and simmering the mixture to reach the perfect thickness. This stage is where the flavors blend and transform into a delicious jam.
Mixing Ingredients
First, I take ripe pineapples and chop them into small pieces. The more uniform the pieces, the better the consistency of the jam. I usually use about 4 cups of fresh pineapple, which is about 2 large pineapples.
Next, I add sugar to the chopped pineapples. For every 4 cups of fruit, I use around 2 to 3 cups of granulated sugar. The sugar helps balance the tangy flavor of the pineapple.
To this mixture, I also add the juice of one lemon. The lemon juice not only enhances the taste but also helps with preservation. After combining all these ingredients, I let them sit for about 30 minutes. This helps the sugar dissolve and brings out the juice from the pineapples.
Simmering and Thickening
Once the mixture is ready, I transfer it to a large pot. I set the heat to medium and start cooking. It’s important to stir often to prevent the mixture from sticking to the pot.
As it heats, I notice it begins to bubble. I keep simmering for about 30 to 45 minutes. During this time, I watch closely for the jam to thicken.
For testing thickness, I use the “cold plate” method. I take a spoonful of the mixture and place it on a cold plate. If it holds its shape after a few seconds, it’s ready.
If it’s still too runny, I continue simmering. Once it reaches the desired consistency, I remove it from heat and let it cool slightly before transferring it to jars.
Testing for Doneness
When making pineapple jam, knowing when it’s done is crucial. I rely on a couple of simple tests to make sure my jam sets perfectly.
Setting Point
The setting point is the temperature at which the jam thickens and holds its shape. For pineapple jam, I usually watch for it to reach about 220°F (104°C). To measure this, I use a candy thermometer.
It’s good to start checking the temperature when the mixture begins to boil. Make sure the thermometer doesn’t touch the bottom of the pot to get an accurate reading.
Once it reaches the right temperature, take it off the heat to prevent overcooking. Remember, too high a temperature can lead to a sticky, hard jam.
Wrinkle Test
The wrinkle test is another method I use. It helps me check if the jam is ready to set. To do this, I place a small amount of jam on a cold plate.
I let it sit for a minute, then push the jam with my finger. If it forms a wrinkle and does not flood back, I know it’s done. If not, I continue cooking for a few more minutes before testing again.
This test is simple and effective. Plus, it gives me quick feedback on the jam’s consistency without needing special equipment.
Canning and Preservation
After making the Pineapple Jam Recipe, canning pineapple jam is important to keep it fresh and tasty for a long time. I’ll cover how to fill the jars properly and then explain the sealing process.
Filling the Jars
Before I begin, I prepare the jars by washing them in hot soapy water. It’s best to use pint or half-pint jars. After rinsing, I place them in a hot water bath to keep them warm. This step helps prevent cracks when I add the hot jam.
Next, I ladle the pineapple jam into each jar, leaving about 1/4 inch of space at the top. This space, called headspace, is important for expanding air. I use a clean, damp cloth to wipe the rims of the jars to avoid contamination.
Finally, I check for air bubbles by gently tapping the jars. If I see any, I use a knife or a spatula to release them. Now, the jars are ready for sealing!
Sealing Process
For sealing, I start by preparing my canning lids. I place them in a small pot of simmering water. The heat helps create a good seal when I put them on the jars.
Once the lids are warm, I carefully place them on top of each filled jar. Then, I twist the metal bands onto the jars until they are fingertip-tight. This means they should be snug but not too tight to restrict air flow.
Now, I process the jars in a boiling water bath for about 10-15 minutes. This step kills bacteria and helps preserve the jam. I make sure the water covers the jars by at least an inch.
After processing, I lift the jars out carefully and let them cool on a clean towel. This method ensures that my pineapple jam stays fresh and delicious for months!
Cooling and Storing
After making pineapple jam, it’s important to cool it properly and know how to store it. This helps keep the jam fresh and tasty for a longer time.
Storage Conditions
Once my pineapple jam is cooked, I let it cool in the jars. It’s best to leave the jars at room temperature for about 24 hours. This allows the jam to set and also prevents condensation.
After cooling, I store the jars in a cool, dark place like a pantry or cabinet. This helps protect the jam from heat and light. If I open a jar, I always refrigerate the leftover jam. The cold temperature helps keep it safe and tasty.
Shelf Life
Pineapple jam can last a long time if stored correctly. When sealed properly, unopened jars can stay good for about 1 year. I always check for bulging lids or strange smells before using.
Once I open a jar, I make sure to consume the jam within 2 to 3 weeks. Keeping it in the refrigerator helps it last longer. I find that the jam tastes best when used fresh, so I try to enjoy it before it’s gone!
Serving Suggestions
Pineapple jam is a delightful treat that can be enjoyed in many ways. I love how versatile it is, making it a perfect addition to meals and desserts.
Breakfast Spreads
I enjoy spreading pineapple jam on warm toast or bagels for a tasty breakfast. The sweet and tangy flavor pairs well with cream cheese. Just take a spoonful of cream cheese and add a layer of pineapple jam on top.
Another option is to use it in pancakes or waffles. Drizzling pineapple jam over these breakfast delights adds a tropical twist. You can also mix it into yogurt for a refreshing snack. This adds flavor and a bit of natural sweetness without needing extra sugar.
Dessert Toppings
Pineapple jam works great as a topping for desserts too. I like to use it on vanilla ice cream. Adding a spoonful makes the ice cream even more delicious.
You can also layer pineapple jam in parfaits with granola and yogurt. Another idea is to use it in cakes or cupcakes. Simply place a layer of pineapple jam between cake layers for an added burst of flavor. It’s a wonderful way to share a taste of the tropics in your treats!

